Untyme is a messaging platform that allows effective communication between you and your chosen contacts, at any scheduled date/time. And just as it should be, leaving messages is a piece of cake!
How do I leave a message?
There are several very easy steps to leaving messages on Untyme.
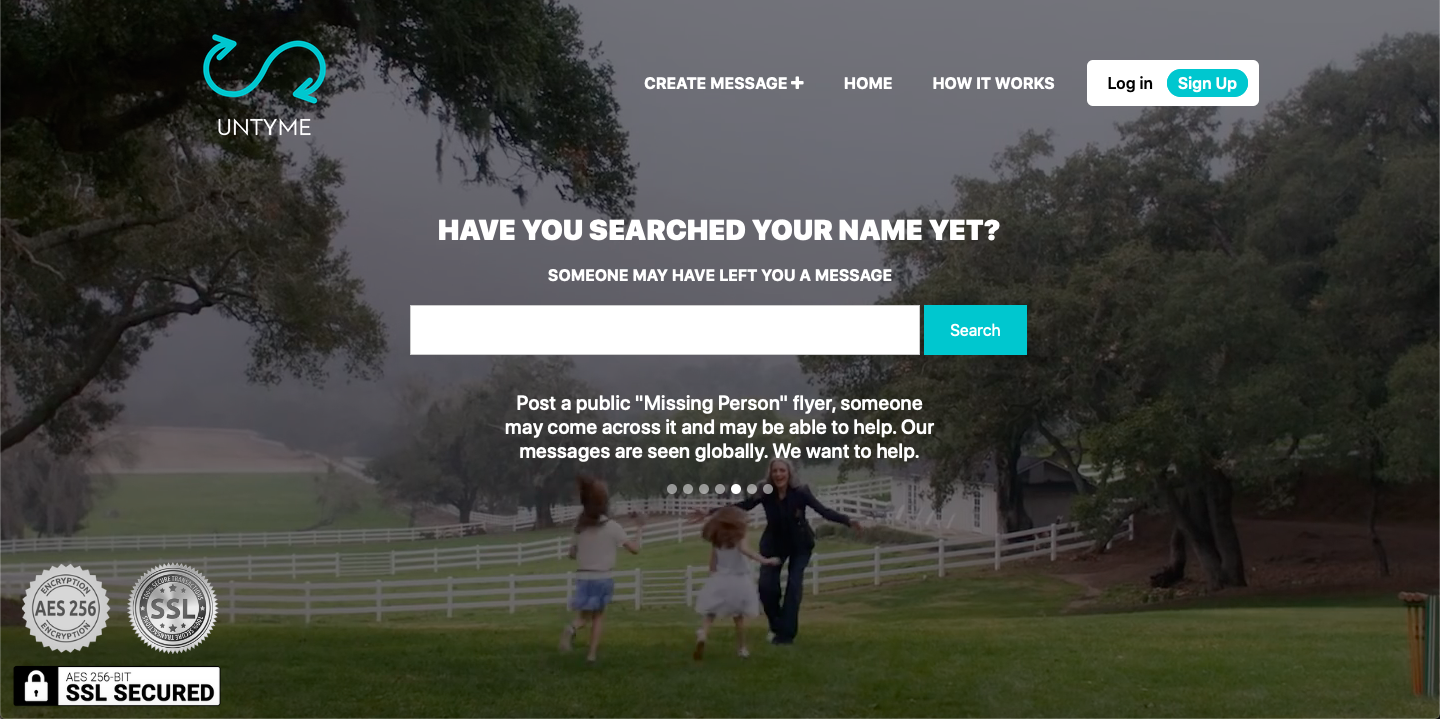
Getting on: Start by going to untyme.com. Here, you’ll land on the home page. Take a look around if you want to learn more about the website and company! In case you’re interested in the different types of messages you can leave on Untyme, please visit Untyme – Messages That Don’t Expire.
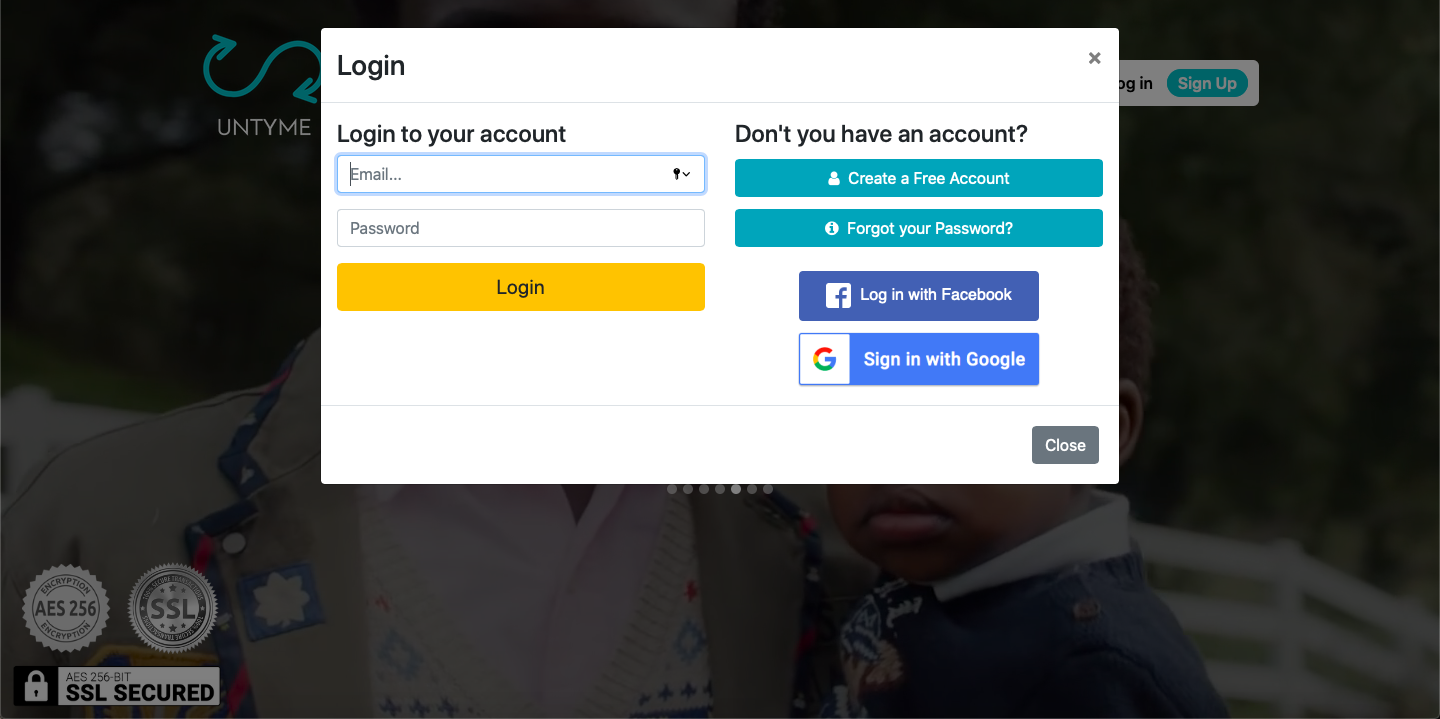
Sign in: You can sign in using either Google, Facebook, or email, or create a login for future use. <add link here on how to do that> The sign-in button is located in the upper right hand corner of the home page.
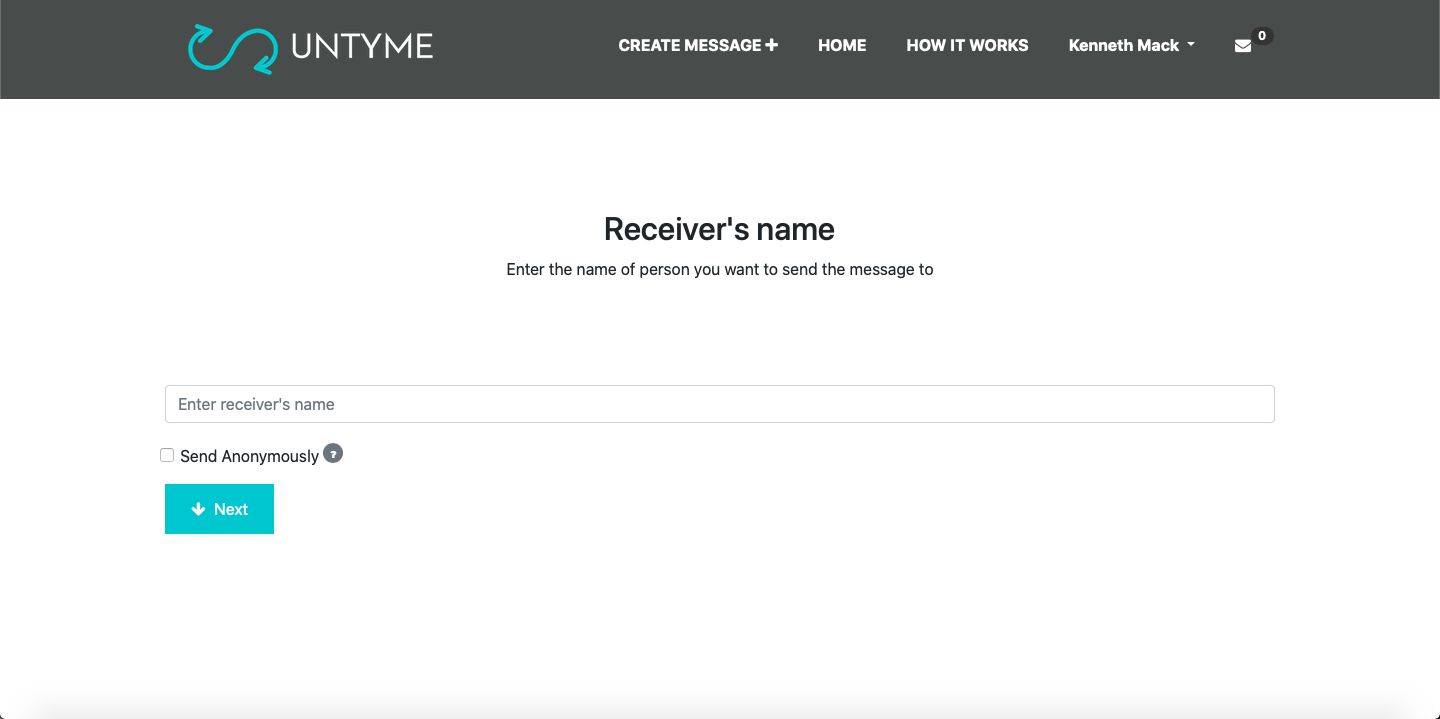
Creating your message: Click the “create message” button in the bar at the top of the screen. When redirected to the message page, you will be asked for the receiver’s name. Type it in and click “next” to move on.
During this step, you can choose whether you want your message delivered anonymously or not. Keep in mind while you’re leaving your message that the recipient will not be able to see who sent it if the “send anonymously” box is checked. You will still be able to see when someone claims the message and when they respond.
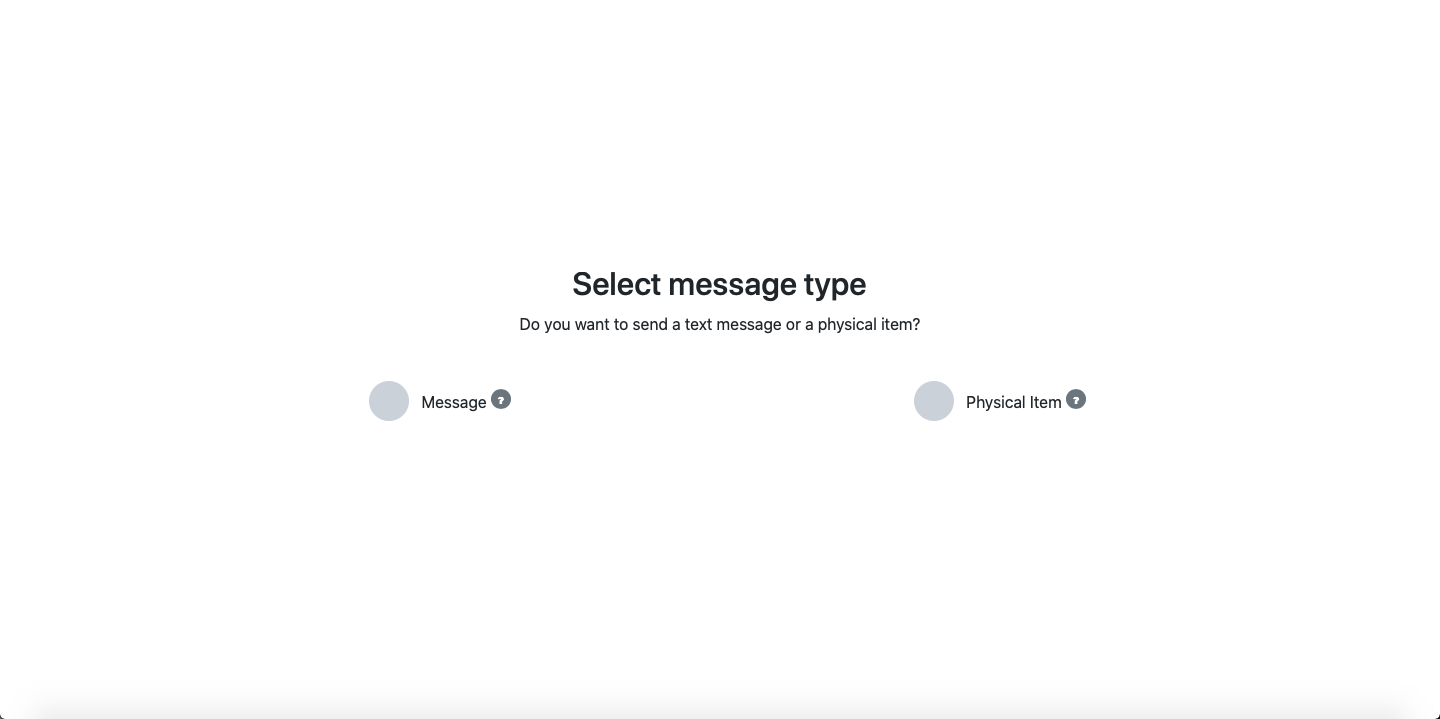
Type of Message: Untyme lets you choose what kind of message you want to send; either a digital note or a physical item. In the case that you choose “message,” you can continue onto the next step. Keep in mind that “physical item” is coming soon (so it cannot be selected at this time), but once it’s functional, it will allow you to send physical items to your recipient.
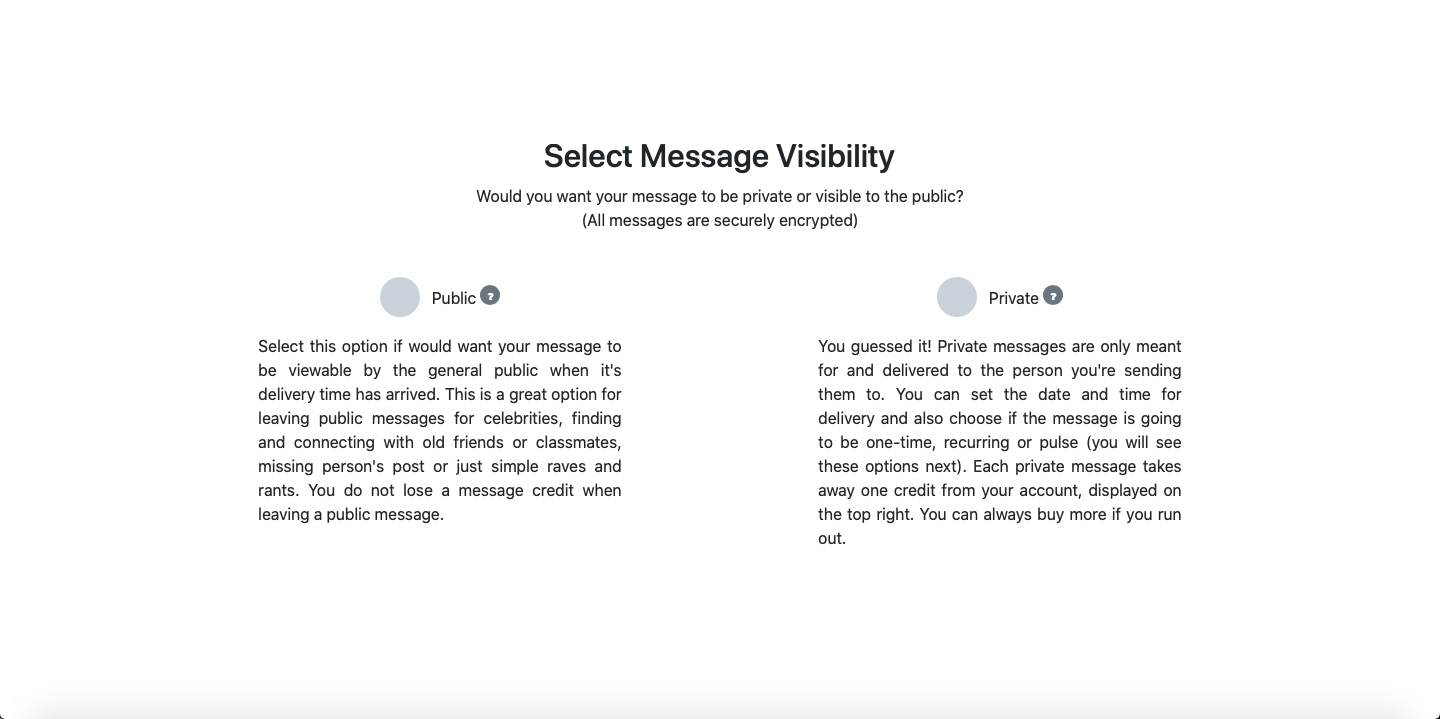
Message Visibility: You can decide if you want your message to be public or private. If you choose public, anyone can read it, but if you choose private, only the receiver can read it upon claiming it.
In the case that a message is sent privately, you will be asked to add security questions to make sure the correct person receives it. You can only claim the message after correctly answering the security questions set by the sender.
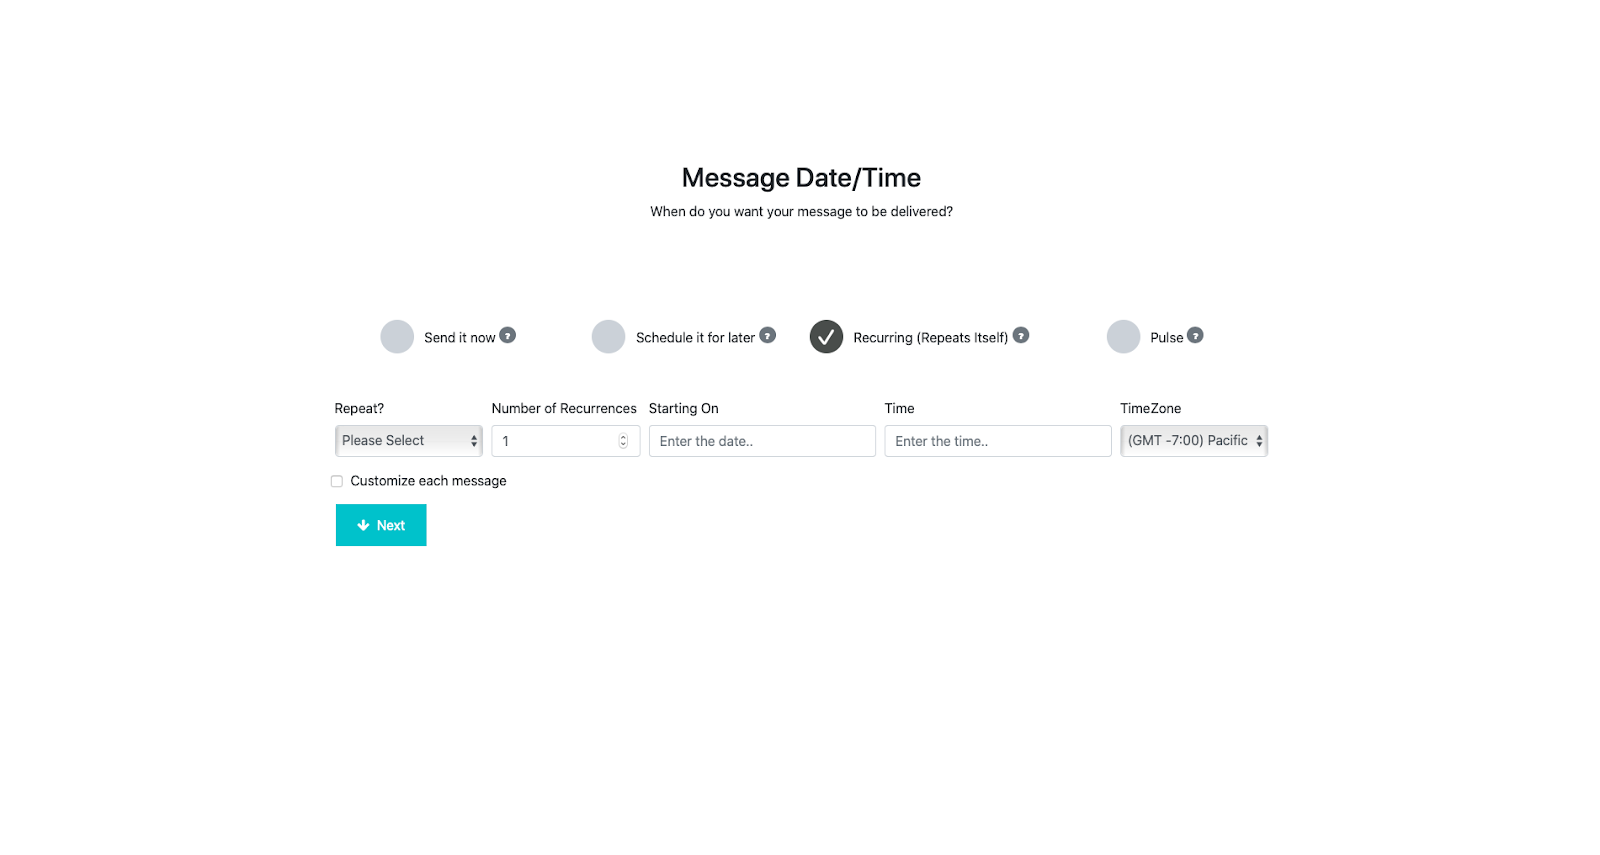
Setting the Date/Time: Unlike other messaging platforms, Untyme allows the sender to set a specific time for message delivery. You can choose to send the message once you finish (send it now), send it later at your preferred time (schedule it for later), let it recur, or pulse. We’ll talk about each below.
Recurring lets you send messages repeatedly on given dates and times for as long as you want (ie days, weeks, months or years). One example of a great use would be to wish someone on an occasion every year (for example, telling your best friend “happy birthday”).
Pulse messages allow you to send a message when you are not responsive to our pulse. We will send you pulse messages (as frequently as you set e.g. daily, monthly) asking if you want to send the message yet. You can respond with either “yes” or “no.” When you fail to respond, the message will be sent out based on the expiry setting of the message. This is great for creating wills and messages when you won’t be able to respond.
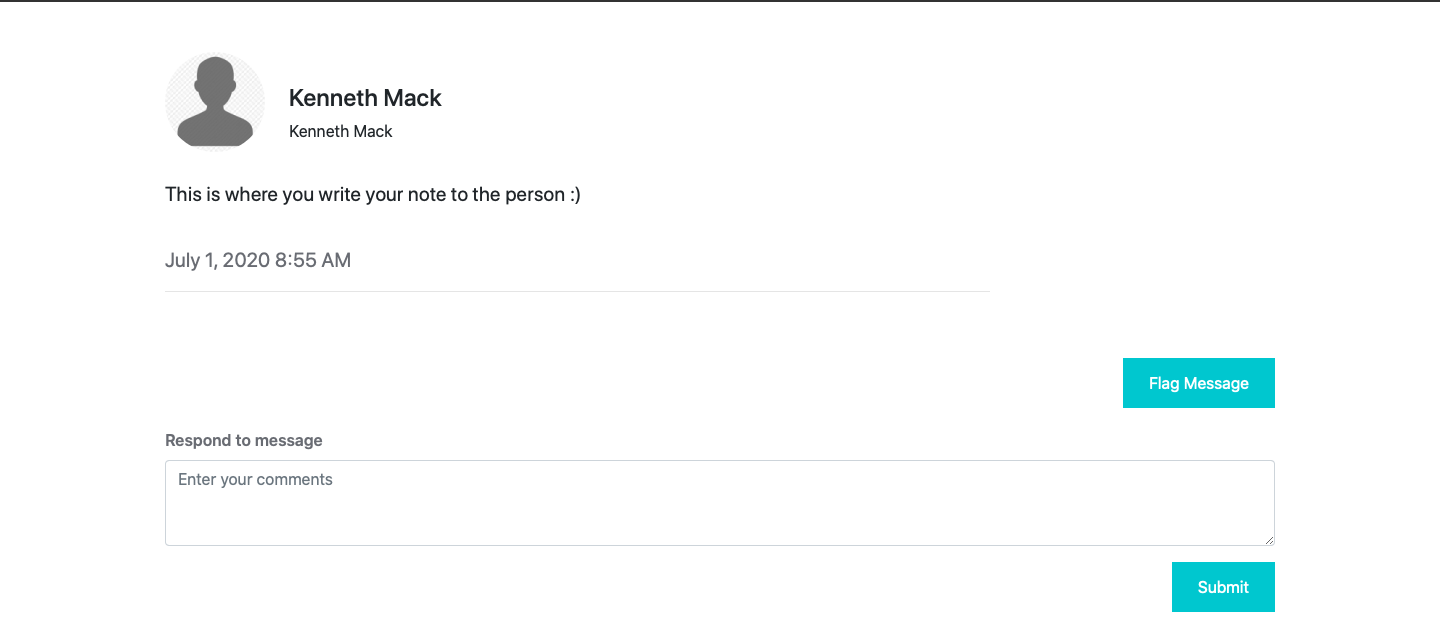
Creating Your Message: This bit is more self-explanatory. Once you get onto this page during the messaging process (this will look the same no matter the combination of choices from above), you can leave the note you want to. This feature also allows you to add pictures, videos links.

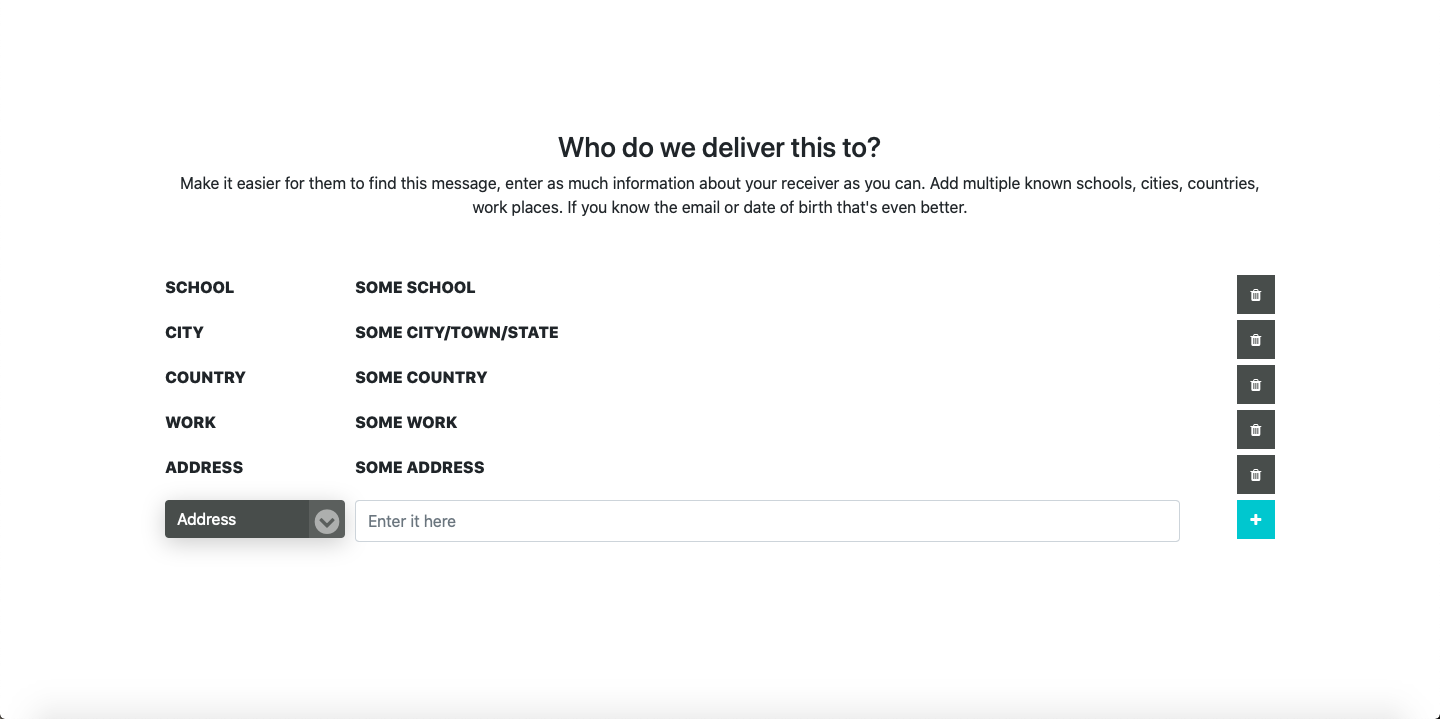
Additional Information: Once you’ve written your note, you can add additional information about your recipient to make it easier to identify them. This can include their school, email, city, country, job, and/or address. You can add as many of these categories as you want (for example, if you know several of the schools your recipient went to); just be sure to click the add (+) button next to each category to save the information.
And if an email is added, Untyme will send a notification email to the receiver to let them know that they have a new message waiting for them. They will need to enter their email address before claiming the message as another safety precaution. The message will only be viewable at the date/time you set, even if they claim it earlier.
NOTE: only add the information that you know to be true.
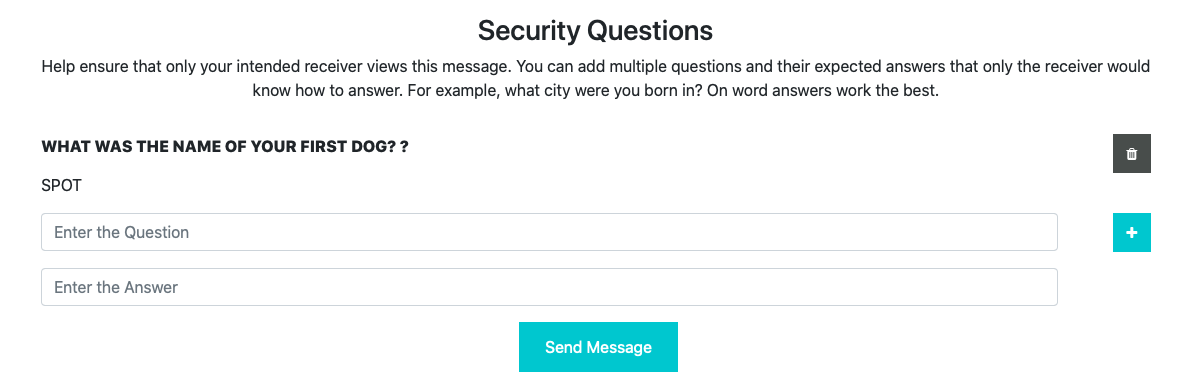
Security questions (Private Messages): We want to make sure only your intended receiver is able to view the message, the security questions allow you to do that.You can add as many security questions as you want to in order to be absolutely sure that your message gets to the right person.
These questions can be just about anything, but you need to pick something that you’re confident they’d know the answer to (for example, what was the name of your first dog?).
Another tip for setting security questions would be to have a one-word answer. This way, it limits the amount of mistakes someone can make while answering, and will be easier to claim. To pick up on the example question from a moment ago, the dog’s first name could be “Spot”; that would be the answer you set for the security question, and that would be what the recipient needs to answer to claim the message.
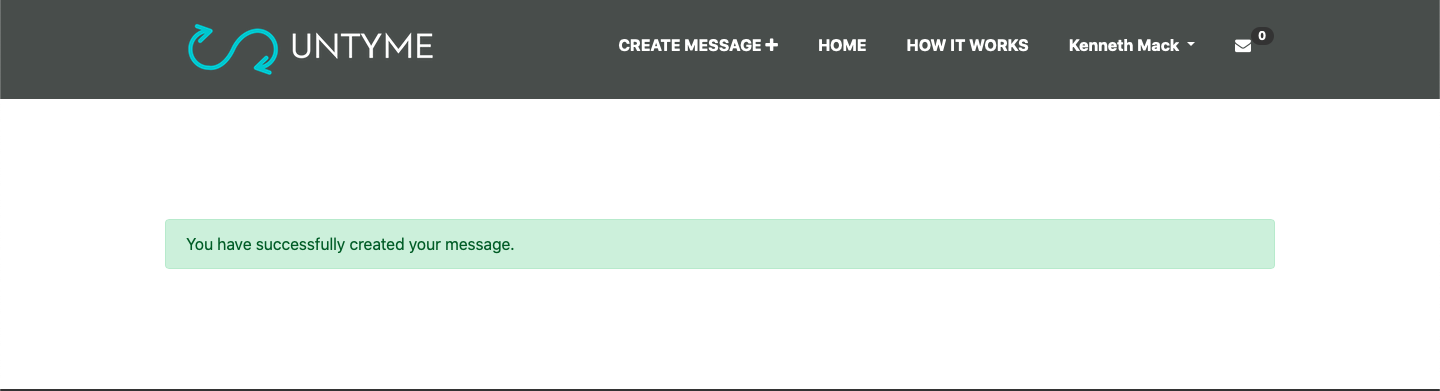
Message Completion: Congratulations! You’ve made it through the messaging process. Now, all that’s left to do is sit back and know your message will be received at the appointed time.
How do I Manage/View my Messages?
Did you happen to make a mistake while writing your note? Did you accidentally send it to the wrong person, or not set the date and time you wanted? Or was there something else you wanted to add, but you sent the note a little too early? All of these questions have a simple solution on the site.
Onto the website: Make your way back to the landing page of untyme.com. From here, click on your name in the upper right hand corner (if you don’t see it, you’re not signed in; you need to be logged-in in order to view your messages). A small pop-up menu will come up; to view your messages, click “inbox.”

Viewing Messages: Upon entering your inbox, you are able to see your claimed and unclaimed messages, your sent messages, and analytics. To edit sent messages, go to “sent” to view the ones you’ve posted, then locate the one that you’d like to either alter or delete. Both are available for your convenience.
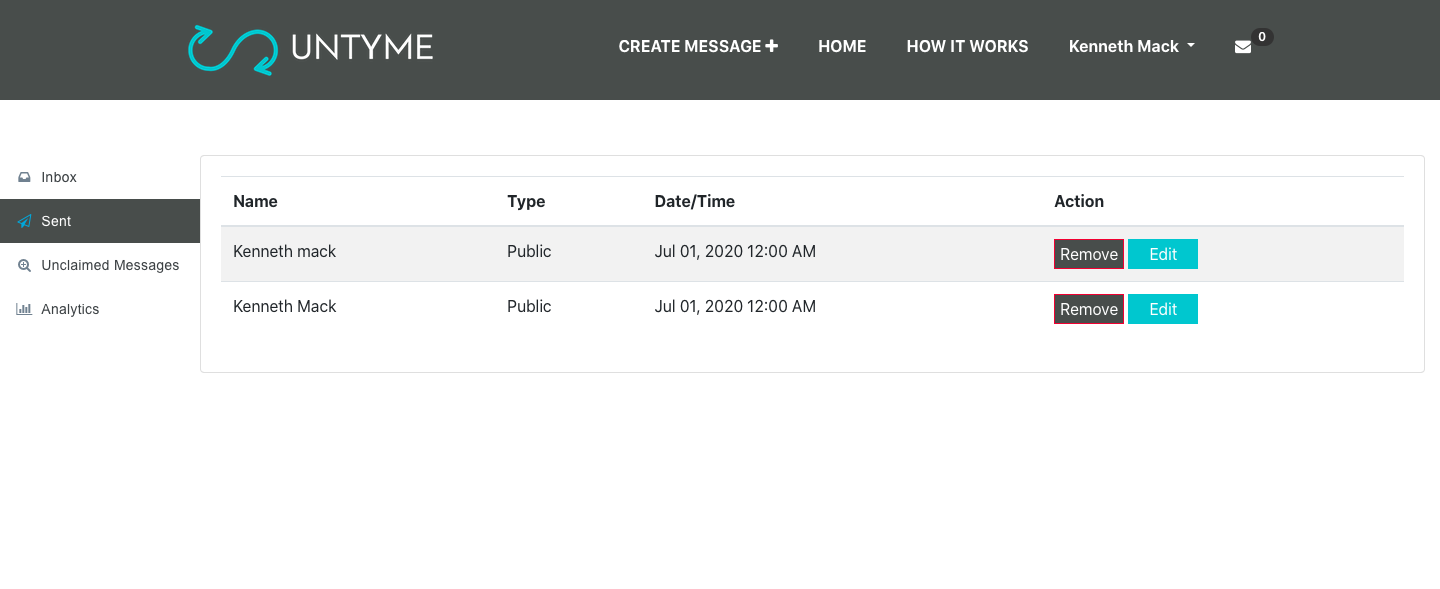
Managing: In the case that you want to edit your message (if you forgot something, or want to change part of the text), click the “edit” button next to the sent message and continue to the page below. Here, you can manage your note. And if you want to delete it, you can simply click the “remove” button beside that message.